Understanding Portrait Mode on iPhone
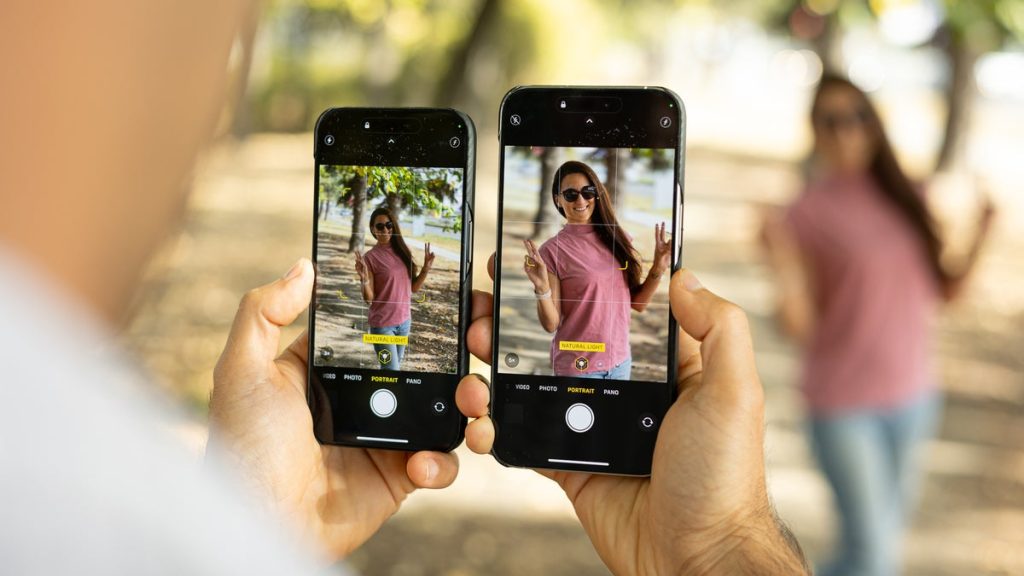
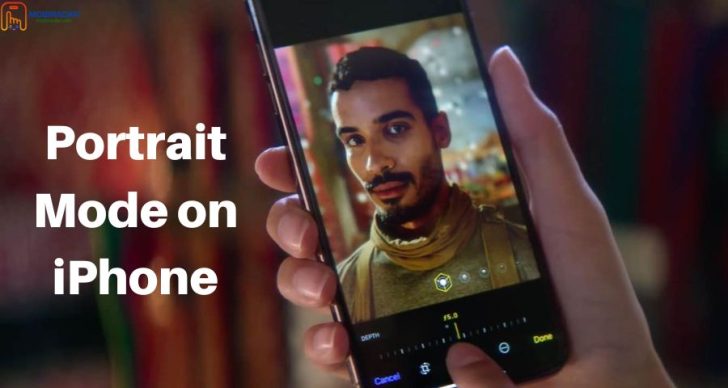
Portrait Mode on iPhone enhances your photos by creating a shallow depth of field effect, blurring the background to make your subject stand out. It mimics professional portrait photography typically achieved with DSLR cameras and prime lenses. Let’s explore its strengths, weaknesses, and when to use Portrait Mode effectively.
Strengths:
Bokeh Effect: Creates a pleasing background blur, isolating your subject and giving your photos a professional look.
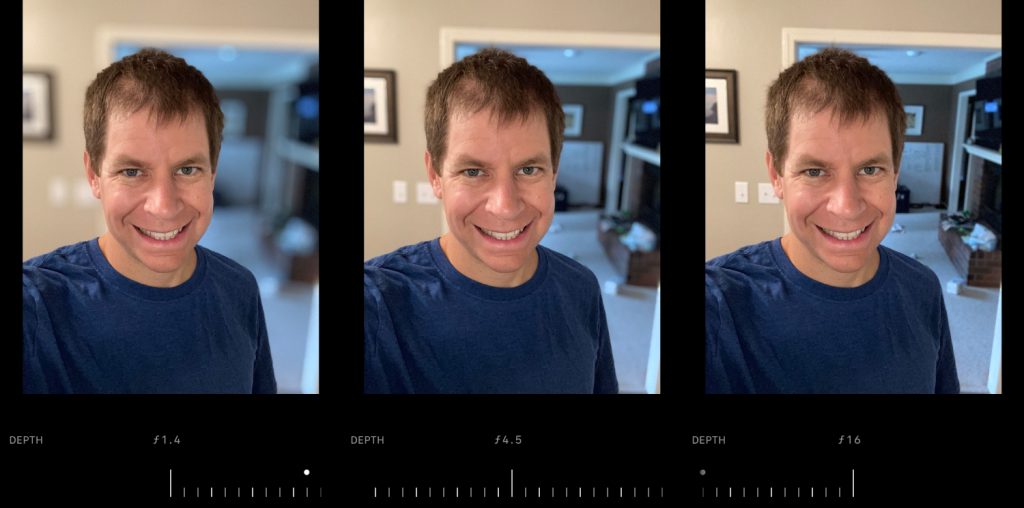
Depth Control: Allows adjustment of the background blur after taking the photo, offering flexibility in post-processing.
Portrait Lighting: Provides various studio-quality lighting effects to enhance your subject’s appearance.
Weaknesses:
Lighting Dependency: Performance can vary in low-light conditions or with complex backgrounds.
Edge Detection: Sometimes struggles with accurately separating the subject from the background, affecting the blur quality.
When to Use Portrait Mode:
Single Subject Focus: Perfect for portraits where the subject is the main focus, such as people, pets, or objects with distinct shapes.
Close-Up Shots: Ideal for capturing details with a blurred background, emphasizing textures and features.
Depth Enhancement: Use it to add depth to your photos, making subjects stand out against their surroundings.
Learn more: THE ULTIMATE GUIDE TO CHOOSING AND USING PHONE CAMERA TRIPODS
How to Use Portrait Mode on Iphone Effectively
Using Portrait Mode effectively on your iPhone involves mastering its features beyond basic operation. Here’s how to maximize its potential:
- 1. Manual Focus and Exposure:
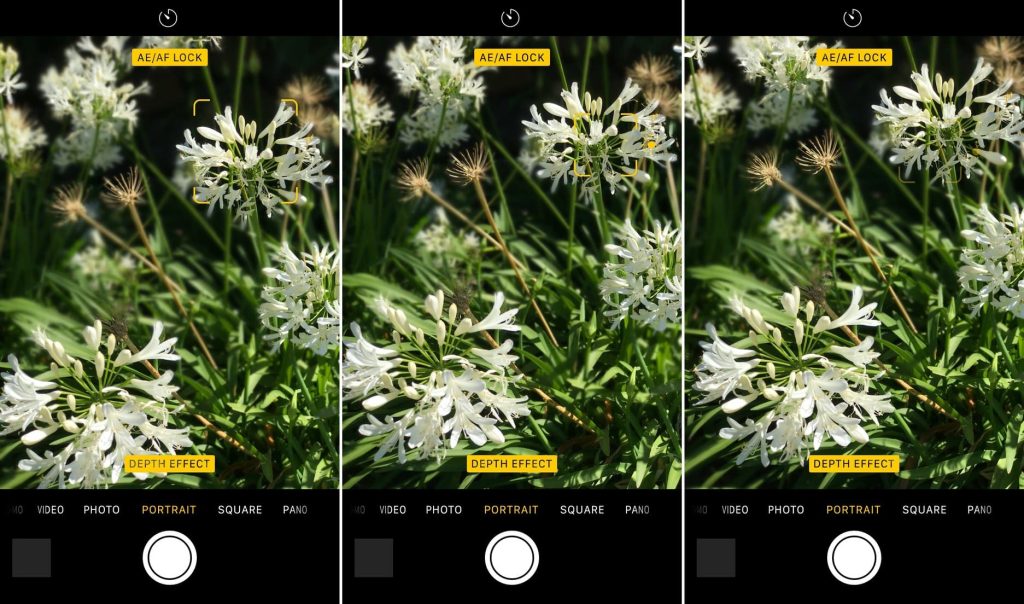
Tap on your subject to set focus and exposure manually. This ensures sharpness and proper exposure, enhancing photo quality.
- 2. Depth Adjustment:

Adjust the depth effect after capturing a photo in Portrait Mode. This feature lets you fine-tune background blur for better composition.
- 3. Optimal Lighting:
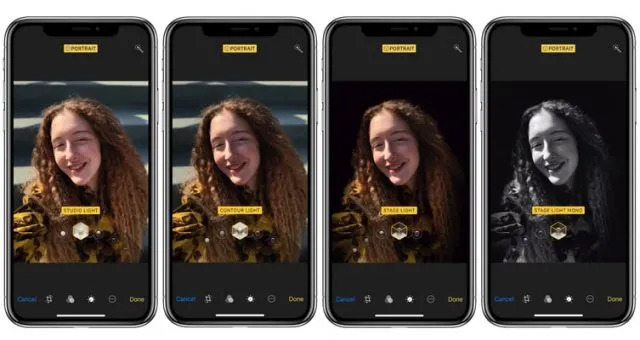
Choose natural light or well-lit environments for better depth effect and overall clarity in portraits.
- 4. Experiment with Angles:
Explore different angles and perspectives to find the most flattering composition for your subject. Changing angles can drastically alter the look of your portrait.
Tips for Taking Better Portrait Mode Photos
To elevate your Portrait Mode photography skills, consider these advanced tips:
Focus and Exposure Control: Tap to adjust focus and exposure for precise control over your subject’s details.
Natural Light Utilization: Utilize natural light to create softer, more flattering portraits.
Composition Experimentation: Experiment with composition techniques like the rule of thirds or leading lines for compelling portraits.
Subject Variety: Don’t limit yourself to people—try Portrait Mode with pets, objects, or landscapes for creative versatility.
When using Portrait Mode on your iPhone, consider these technical settings for optimal results:
Focal Length (mm): Typically, Portrait Mode on iPhone uses a focal length equivalent to approximately 56mm on a full-frame camera. This focal length is ideal for capturing flattering portraits with minimal distortion.
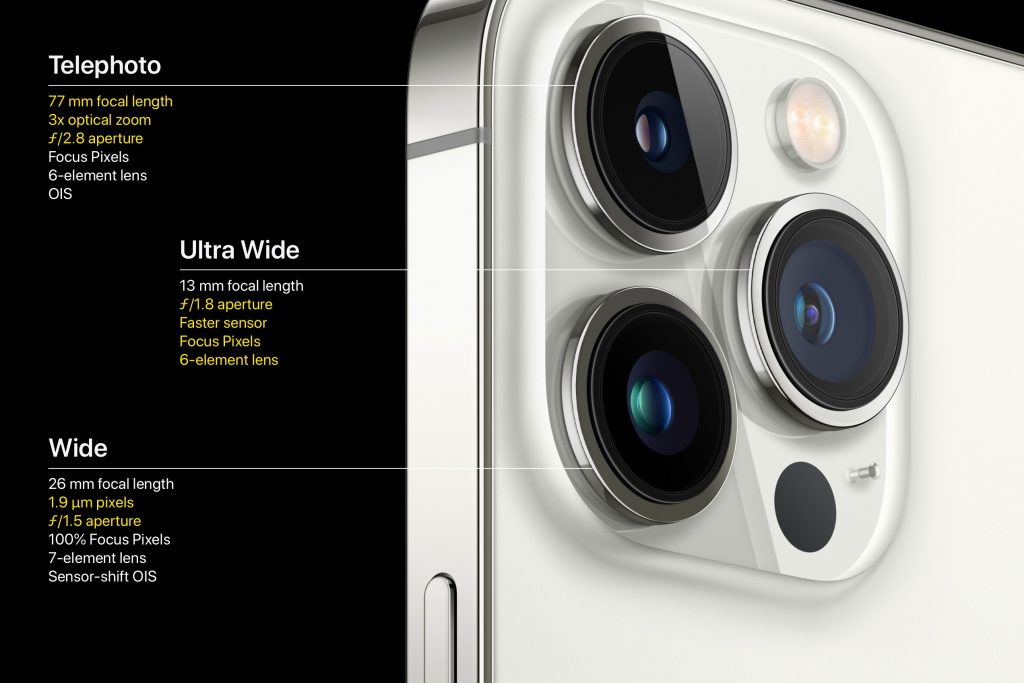
Aperture (f/number): The aperture in Portrait Mode varies dynamically based on lighting conditions and subject distance. For best results, aim for a lower f-number (wider aperture) such as f/1.8 to f/2.8 in well-lit environments to achieve a pleasing background blur (bokeh) while keeping your subject sharp.
Shutter Speed: iPhone adjusts shutter speed automatically in Portrait Mode to maintain proper exposure. However, it’s beneficial to shoot in well-lit conditions to avoid motion blur, especially with moving subjects.
By understanding and adjusting these settings, you can enhance your Portrait Mode photos, capturing stunning portraits with professional-quality bokeh and clarity.
Should You Use Portrait Mode on Iphone?
Portrait Mode is excellent for capturing striking portraits, but it’s not suitable for every scenario. Here’s when it’s beneficial:
When to Use:
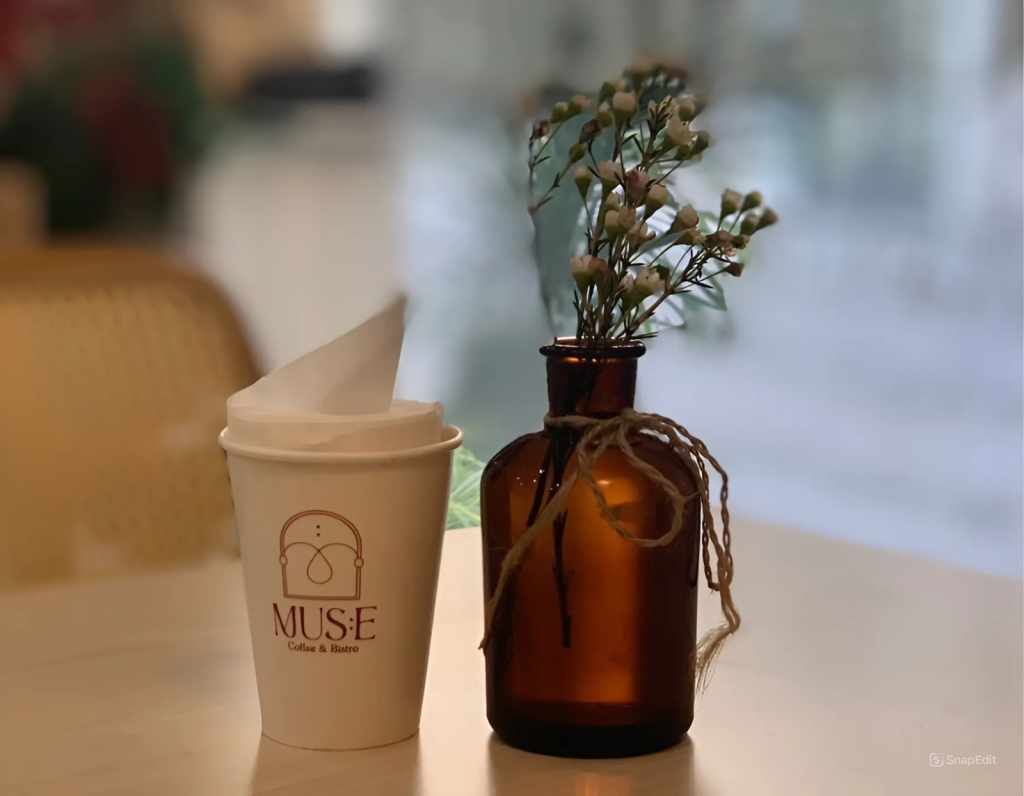
Portrait Photography: Ideal for traditional portraits where the subject stands out against a blurred background.
Depth Enhancement: Use it to add depth and dimension to your photos, making them visually appealing.
Artistic Shots: Experiment with different lighting effects and angles to create artistic and expressive portraits.
When Not to Use:
Moving Subjects: Avoid using Portrait Mode for fast-moving subjects as it may struggle with accurate edge detection and blur.
Busy Backgrounds: If the background is cluttered or complex, Portrait Mode may not effectively isolate your subject.
Conclusion
Portrait Mode on iPhone empowers you to capture professional-quality portraits effortlessly. By understanding its capabilities, mastering its features, and applying these advanced tips, you can elevate your photography skills and create stunning portraits that stand out.






Leave a Reply