Mastering iPhone Camera Settings
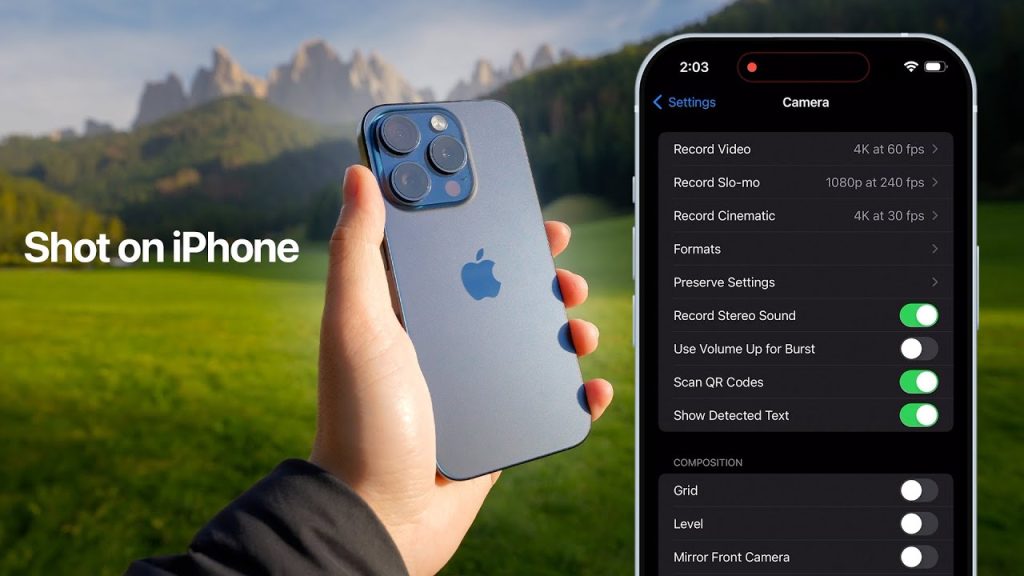
The iPhone camera is renowned for its impressive quality and ease of use. However, many users only scratch the surface of its capabilities. By mastering the various settings and features, you can take your iPhone photography to the next level. This guide will walk you through the most important iPhone camera settings and how to use them effectively.
Key iPhone Camera Settings to Explore
1. Exposure and Focus
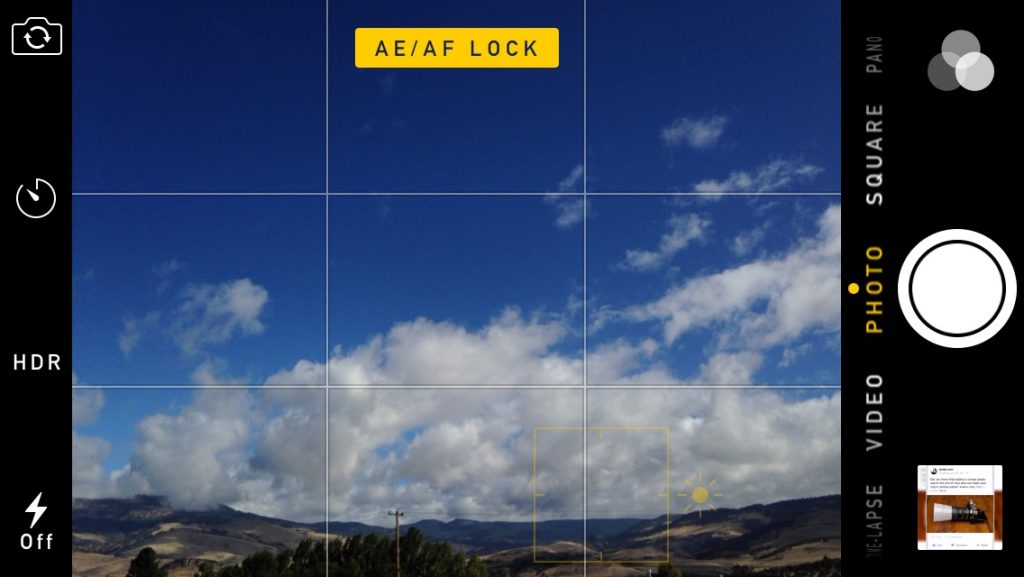
Adjusting Exposure: To adjust the exposure on your iPhone camera, start by tapping on the screen to set the focus. Once you’ve done this, you’ll see a small sun icon appear next to the focus square. Slide your finger up or down on the screen to adjust the exposure. Sliding up brightens the image, while sliding down darkens it. This feature is useful for getting the perfect lighting in your shots, whether you’re dealing with very bright or very dark environments.
Locking Focus and Exposure: For more consistent shots, especially in tricky lighting situations, you can lock the focus and exposure settings. Press and hold on the area you want to focus on until you see “AE/AF Lock” appear at the top of the screen. This locks the current focus and exposure settings, ensuring that they don’t change even if you move the camera slightly.
2. HDR (High Dynamic Range)
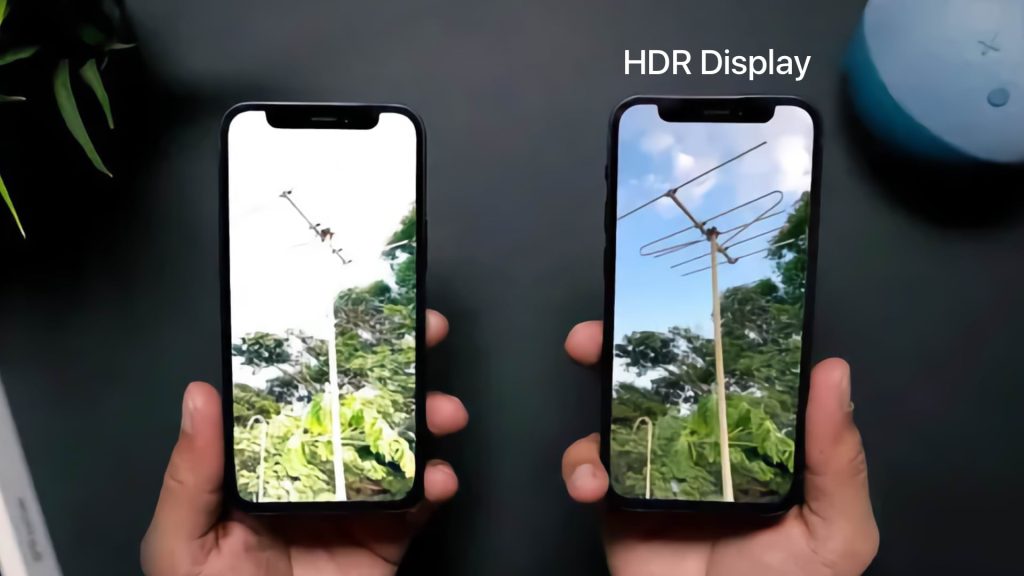
What is HDR?: HDR stands for High Dynamic Range, and it’s a feature that helps your camera capture more detail in high-contrast scenes. When you take a photo with HDR enabled, the camera takes multiple shots at different exposure levels and combines them into a single image. This results in a photo with a greater range of light and color, perfect for scenes with bright skies and dark foregrounds, like landscapes.
Using HDR: To use HDR on your iPhone, tap the HDR button at the top of the camera screen. You can choose between Auto HDR, which allows the iPhone to decide when to use HDR based on the scene, or you can manually turn HDR on or off. Using HDR can significantly enhance the quality of your photos in challenging lighting conditions.
3. Night Mode
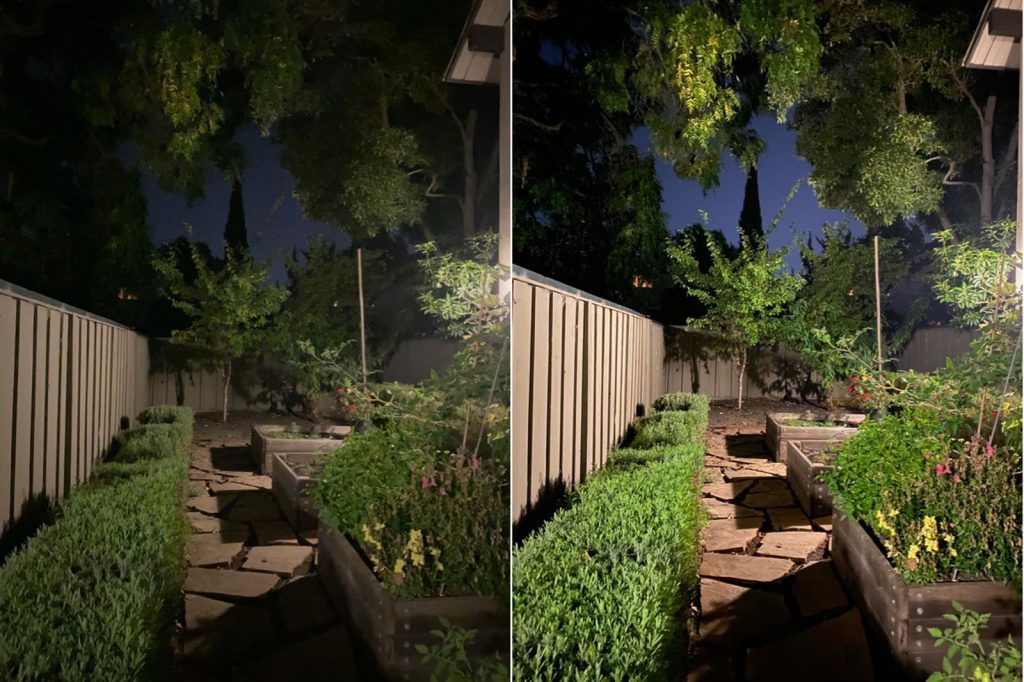
Enhancing Low-Light Photography: Night mode is a feature designed to improve photo quality in low-light conditions. When the camera detects low light, Night mode automatically activates. It uses longer exposure times to capture more light, resulting in brighter and clearer images even in dark environments. The feature is ideal for night-time photography or indoor shots with poor lighting.
Using Night Mode: When Night mode is available, a moon icon will appear at the top of the camera screen. To adjust the exposure time, tap the moon icon and slide the Night mode dial left or right. Longer exposure times can capture more light, but you’ll need to hold the camera steady to avoid blur. This feature helps you take sharp, detailed photos in low-light situations.
See more: What is the Best Phone Camera Night Vision?
4. Portrait Mode
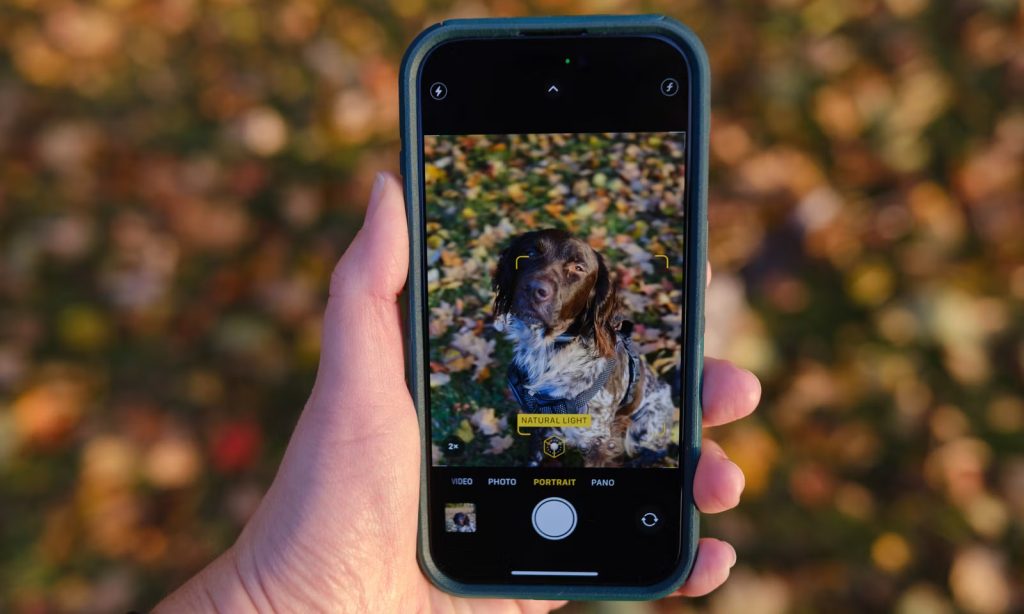
Creating Professional-Looking Photos: Portrait mode uses depth-effect technology to keep the subject in focus while blurring the background, creating a beautiful bokeh effect. This feature mimics the look of professional cameras, making your portraits stand out with a sharp subject and a soft, defocused background.
Using Portrait Mode: To use Portrait mode, open the camera app and swipe to Portrait mode. Follow the on-screen prompts to position your subject correctly within the frame. The camera will guide you to move closer or farther away to achieve the best results. Once the subject is positioned, you can adjust the lighting effects by tapping the natural light button at the top of the screen and selecting from options like studio light, contour light, stage light, and more. These effects can enhance your portraits by adding different lighting styles.
5. ProRAW
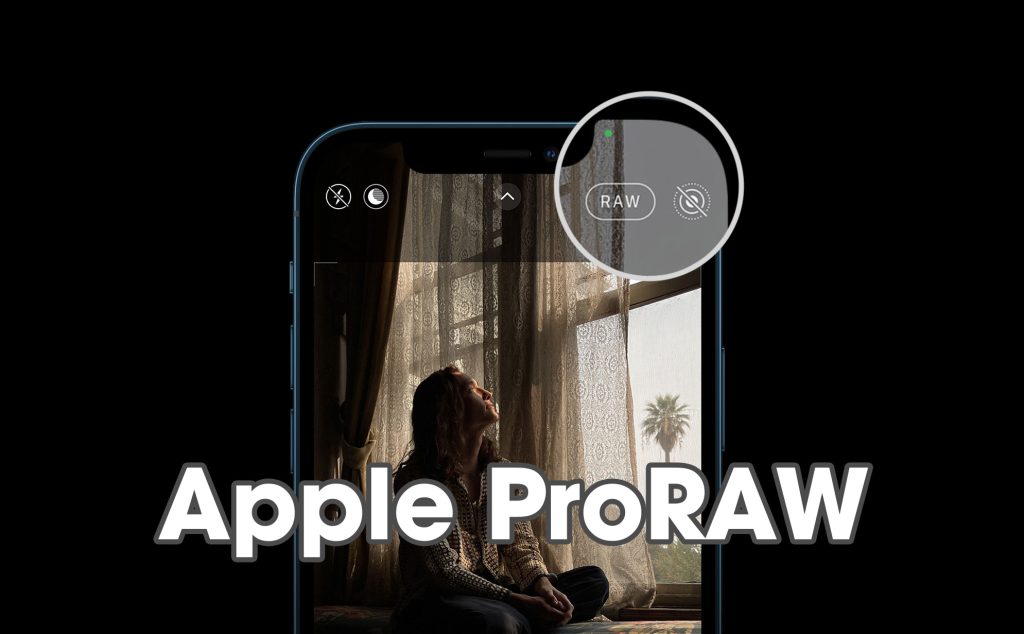
For Advanced Users: ProRAW is a feature designed for advanced photographers who want more control over their images. It combines the information of a standard RAW file with Apple’s image processing, giving you a high-quality image with greater flexibility for editing. ProRAW files retain more detail and dynamic range, allowing you to make more significant adjustments to exposure, color, and other settings in post-processing.
Using ProRAW: To use ProRAW, go to your iPhone’s settings, then tap on Camera and select Formats. Enable the ProRAW option. Once ProRAW is enabled, you’ll see a RAW button at the top of the camera screen when you open the camera app. Tap this button to switch between shooting in ProRAW and standard JPEG/HEIF formats. Shooting in ProRAW allows you to capture high-quality images that you can fine-tune later using photo editing software like Adobe Lightroom or Apple’s Photos app.
Additional Tips for Using iPhone Camera Settings
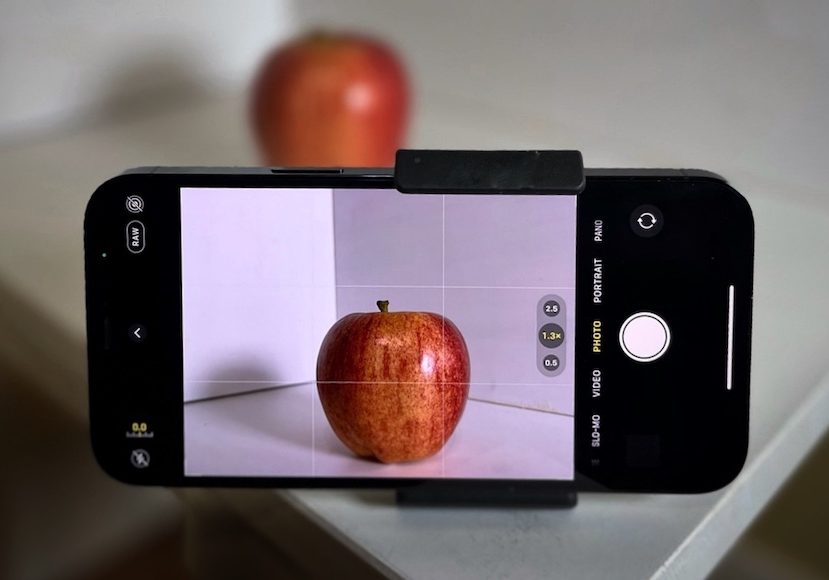
- 1. Gridlines
Enhancing Composition: Enable grid lines in the camera settings to help you compose your shots using the rule of thirds.
- 2. Burst Mode
Capturing Action Shots: Hold down the shutter button to take a series of photos in quick succession, perfect for capturing fast-moving subjects.
- 3. Live Photos
Adding Motion to Your Photos: Live Photos capture a few seconds of motion before and after you take a photo. Enable it by tapping the Live Photos button at the top of the camera screen.
Expert Opinion: Making the Most of iPhone Camera Settings
From my experience, mastering iPhone camera settings significantly enhances your photography. Adjusting exposure and focus manually gives you more control, while features like Night mode and HDR improve image quality in challenging conditions. For those who want to dive deeper, ProRAW offers advanced editing capabilities.
While the default camera settings are designed for ease of use, taking the time to explore and experiment with different settings can make a noticeable difference in your photos. For example, using grid lines helps with composition, while Portrait mode adds a professional touch to portraits.
Conclusion
By understanding and utilizing the various iPhone camera settings, you can elevate your photography skills and capture stunning images. Whether you’re a casual photographer or an advanced user, these settings provide the tools you need to make the most of your iPhone camera. Explore more photography tips and tricks on Mobiradar Wiki.
Unlock the full potential of your iPhone camera today! Visit Mobiradar Wiki for more in-depth guides and tips on mastering iPhone camera settings. Start capturing stunning photos with ease and confidence!






Leave a Reply