Introduction to Phone Camera Tripods
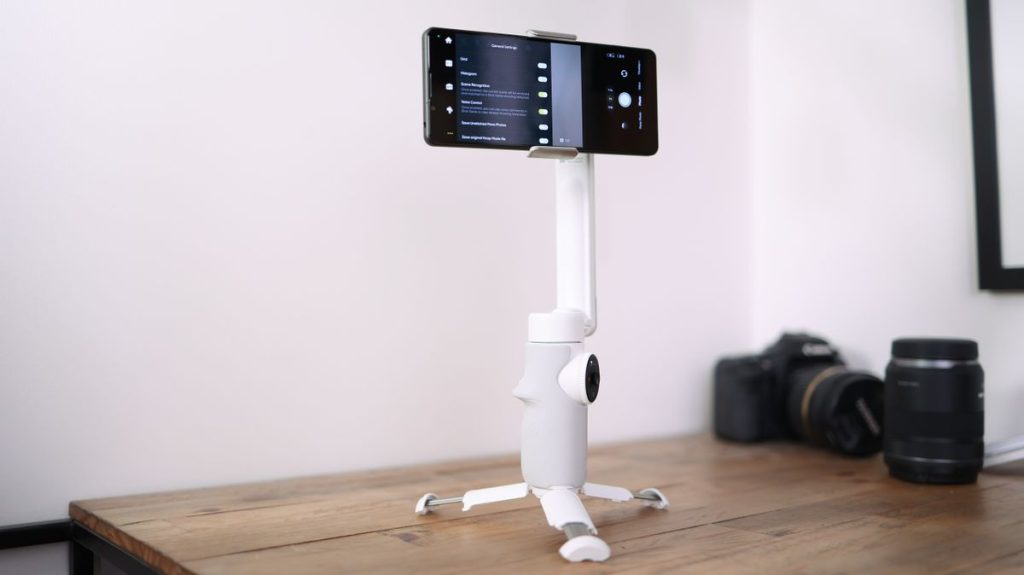
A phone camera tripods is a must-have accessory for anyone serious about mobile photography or videography. It provides stability, allows for creative shooting angles, and enables you to capture sharp images and smooth videos. With the right tripod, you can elevate your content creation, whether you’re a hobbyist, a vlogger, or a professional.
Essential Features of Phone Camera Tripods
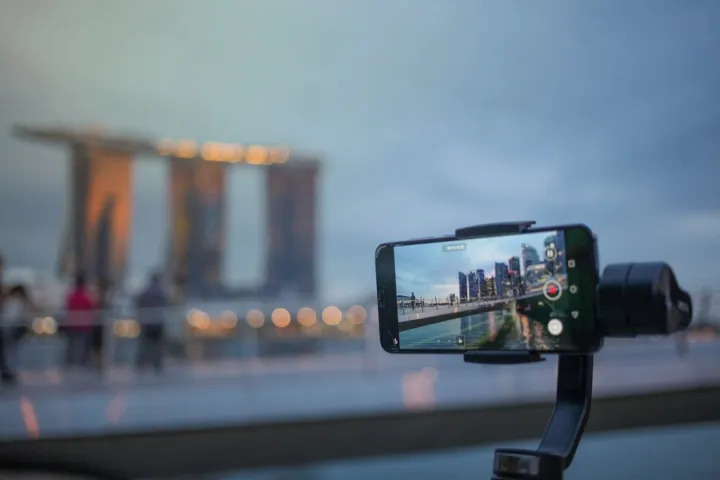
When choosing a phone camera tripods, consider the following key features:
- Stability: Look for a tripod with sturdy legs and a solid base to prevent your phone from shaking or tipping over.
- Portability: A lightweight and compact design is ideal for on-the-go use.
- Adjustability: Flexible legs and adjustable height settings allow you to shoot from various angles and heights.
- Compatibility: Ensure the tripod is compatible with your phone size and model.
- Additional Features: Some tripods come with extras like Bluetooth remotes, integrated lights, or accessory mounts.
How to Use a Phone Camera Tripods Effectively
Setup:
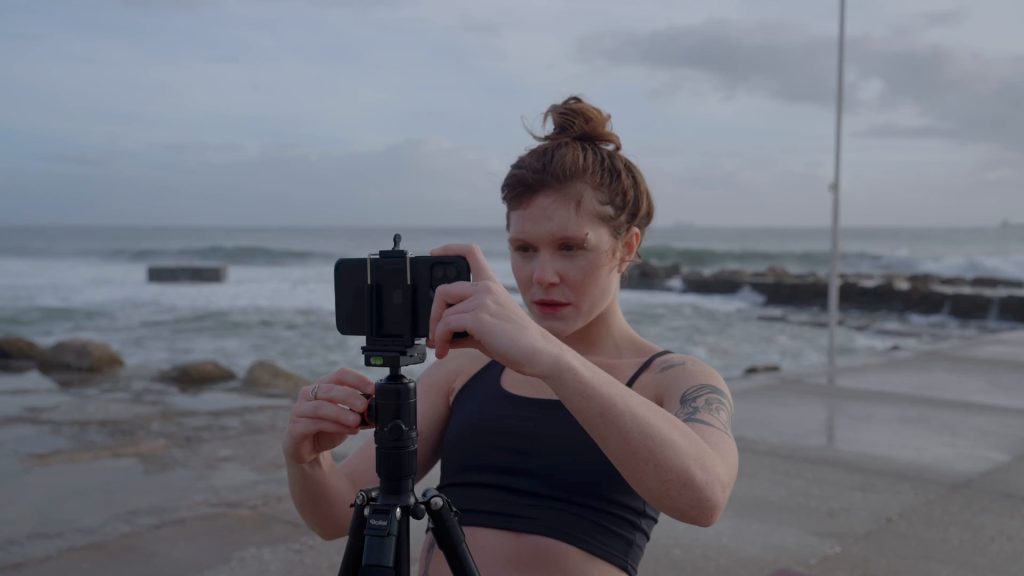
- Select a Stable Surface: Choose a flat and stable surface to place your tripod. This ensures that your setup is secure and minimizes the risk of your phone tipping over.
- Extend the Legs: Depending on your shooting requirements, extend the tripod legs to your desired height. For uneven ground, some tripods have adjustable leg angles to maintain stability.
- Secure the Phone Mount: Attach your phone securely to the tripod’s mount. Ensure the clamp or holder is tight enough to prevent your phone from slipping but not too tight to avoid damage.
- Check Stability: Give the setup a slight shake to ensure everything is secure and stable.
Positioning:
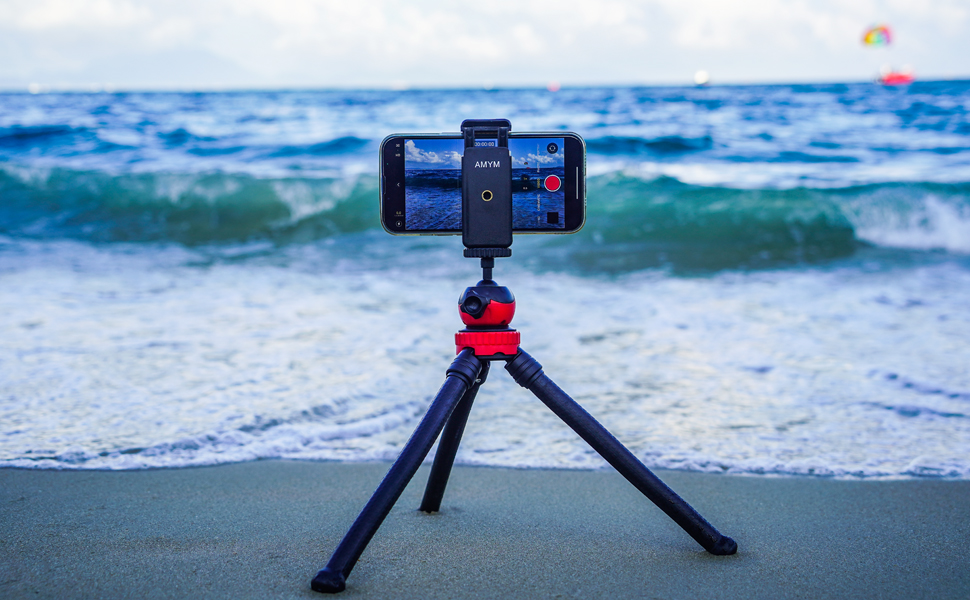
- Adjust the Head: Most tripods come with an adjustable head or ball head. Adjust this to position your phone at the desired angle. Ensure it’s tight enough to hold the phone’s position without any wobble.
- Use the Spirit Level: Many tripods include a built-in spirit level. Use this to ensure your phone is perfectly horizontal, which is crucial for balanced and professional-looking shots.
- Fine-Tune the Angle: Adjust the tilt and pan of the tripod head to frame your shot precisely. This might involve slight movements to ensure the best composition.
Remote Control:
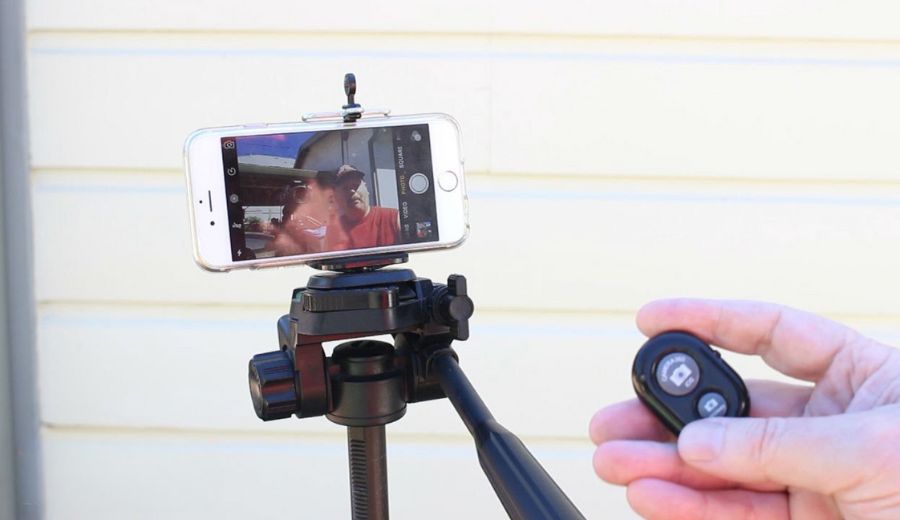
- Pairing a Bluetooth Remote: Most modern tripods come with a Bluetooth remote. Pair this remote with your phone following the manufacturer’s instructions.
- Using the Timer Mode: If you don’t have a remote, use your phone’s timer mode to start capturing photos or videos. This feature is found in the camera settings of most smartphones.
- Minimize Vibrations: Use the remote or timer to start recording without physically touching the phone, which helps reduce vibrations and ensures steady shots.
Creative Angles:
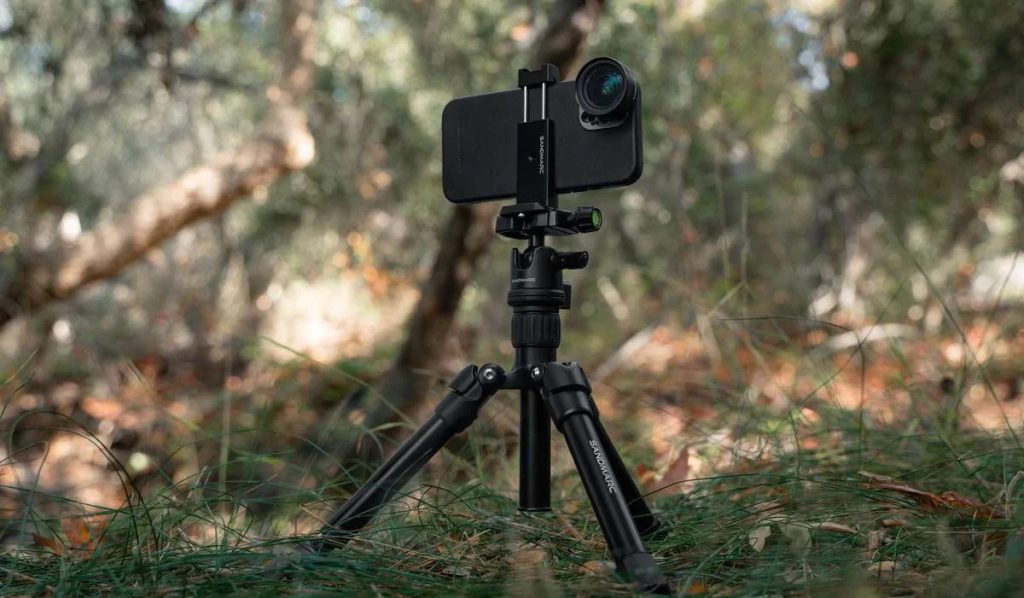
- Flexible Legs: Use tripods with flexible legs that can wrap around objects like tree branches, poles, or fences. This allows you to capture unique perspectives and angles.
- Low Angle Shots: Adjust the tripod legs to lower the height for ground-level shots. This is great for capturing dramatic landscapes or creative viewpoints.
- Overhead Shots: Extend the tripod to its full height for overhead shots, useful for photographing food, flat lays, or top-down videos.
Discover now: iPhone Camera Settings: Maximize Your Photography Skills
Tips for Maximizing Your Tripods Usage
Use a Timer or Remote:
- Avoid Camera Shake: To prevent camera shake, use a timer or Bluetooth remote to trigger the shutter. This is especially useful for long exposure photography or when the tripod is positioned in a precarious spot.
- Self-Portraits and Group Photos: Use the timer or remote for self-portraits or group photos. This allows you to include yourself in the shot without having to rush back into position.
Shoot in Low Light:
- Long Exposures: Utilize your tripod for long exposure photography in low light. This allows you to capture more light without the image becoming blurry, ideal for night scenes or astrophotography.
- Steady Videos: A tripod provides the necessary stability to shoot steady videos in low light conditions, preventing grainy and shaky footage.
Capture Time-Lapse and Panoramas:
- Time-Lapse Videos: Set up your phone on the tripod and enable the time-lapse mode to capture scenes over extended periods. The tripod’s stability ensures smooth transitions between frames.
- Panoramic Shots: Use the tripod to keep your phone steady while capturing panoramic shots. The stable base helps avoid misalignment and stitching errors.
Explore Different Surfaces:
- Uneven Terrain: Flexible tripods can be adjusted to accommodate uneven surfaces. This allows you to set up your shot even in challenging environments like rocky landscapes or urban settings.
- Creative Mounting: Wrap the tripod legs around tree branches, fences, or poles to achieve unconventional angles and perspectives. This is particularly useful for capturing unique and creative shots.
Pros and Cons:
Pros:
- Stability: Ensures sharp images and smooth videos by providing a steady base, crucial for long exposure and low-light photography.
- Versatility: Allows for a variety of shooting angles and perspectives, enhancing creative possibilities.
- Convenience: Enables hands-free operation, making it easier to include yourself in the frame and reduce camera shake.
Cons:
- Portability: While many tripods are designed to be lightweight, some models can still be cumbersome to carry around, especially for travel.
- Setup Time: Setting up a tripod can take time and may not be ideal for spontaneous shots.
- Price: High-quality tripods with advanced features can be expensive, which might not justify the cost for casual users.
Should You Buy a Phone Camera Tripods?
Who Should Buy a Tripod?
- Content Creators: If you create video content for platforms like YouTube, TikTok, or Instagram, a tripod is essential for stable, professional-looking videos.
- Travel Photographers: For those who enjoy capturing stunning landscapes and travel vlogs, a tripod is invaluable for stable shots and long exposure photography.
- Vloggers: A tripod can significantly improve the quality of your vlogs by providing stability and freeing up your hands for more dynamic content.
Who Might Not Need a Tripod?
- Casual Photographers: If you primarily take quick snapshots and don’t require advanced stability or creative angles, a tripod may not be necessary.
- Budget-Conscious Users: If you’re on a tight budget, there are more affordable accessories that might offer better value for your needs.
Conclusion
A phone camera tripod is an invaluable tool for enhancing your mobile photography and videography. By understanding the essential features, learning how to use them effectively, and considering the strengths and weaknesses of using a tripod, you can decide whether it’s a worthy investment for your needs. Whether you’re a casual shooter or a professional videographer, investing in a good tripod will significantly improve your content creation capabilities.






Leave a Reply